Quick Start
This guide walks you through the full workflow from a fresh installation to your first committed batch of statements.
Step 1 — Launch openstan
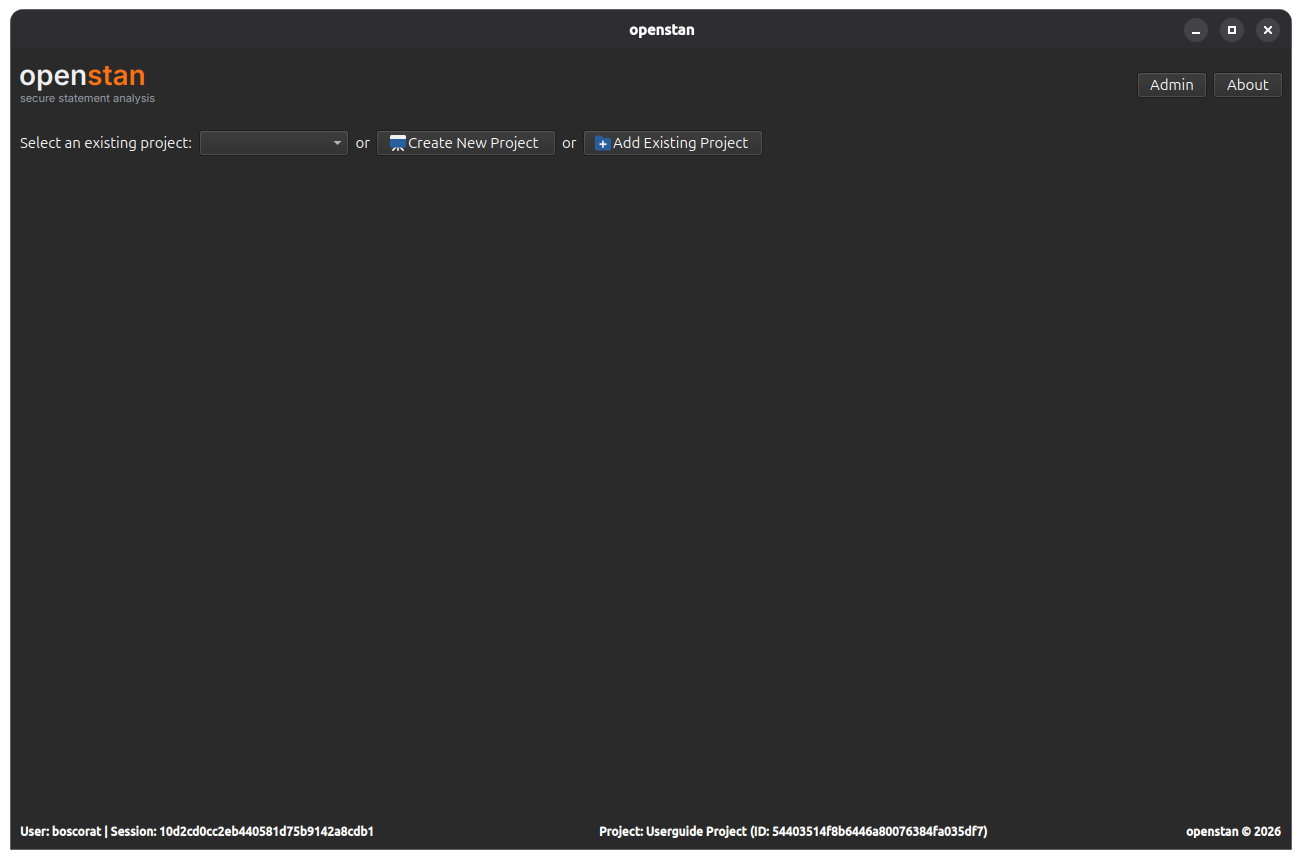
Open openstan from your application menu or desktop shortcut. On first run you will see an empty project selector and the application header.

Step 2 — Create a project
A project is a folder on disk that holds your statement PDFs, configuration files, and the parsed transaction database. Each project is self-contained and portable.
- Click Create New Project in the project selector bar.
- Enter a Project Name (e.g.
Personal Finances). - Click Choose Folder and select the parent directory where you want the project folder to be created. openstan will create a subfolder with the project name inside the directory you choose.
- Click Finish.

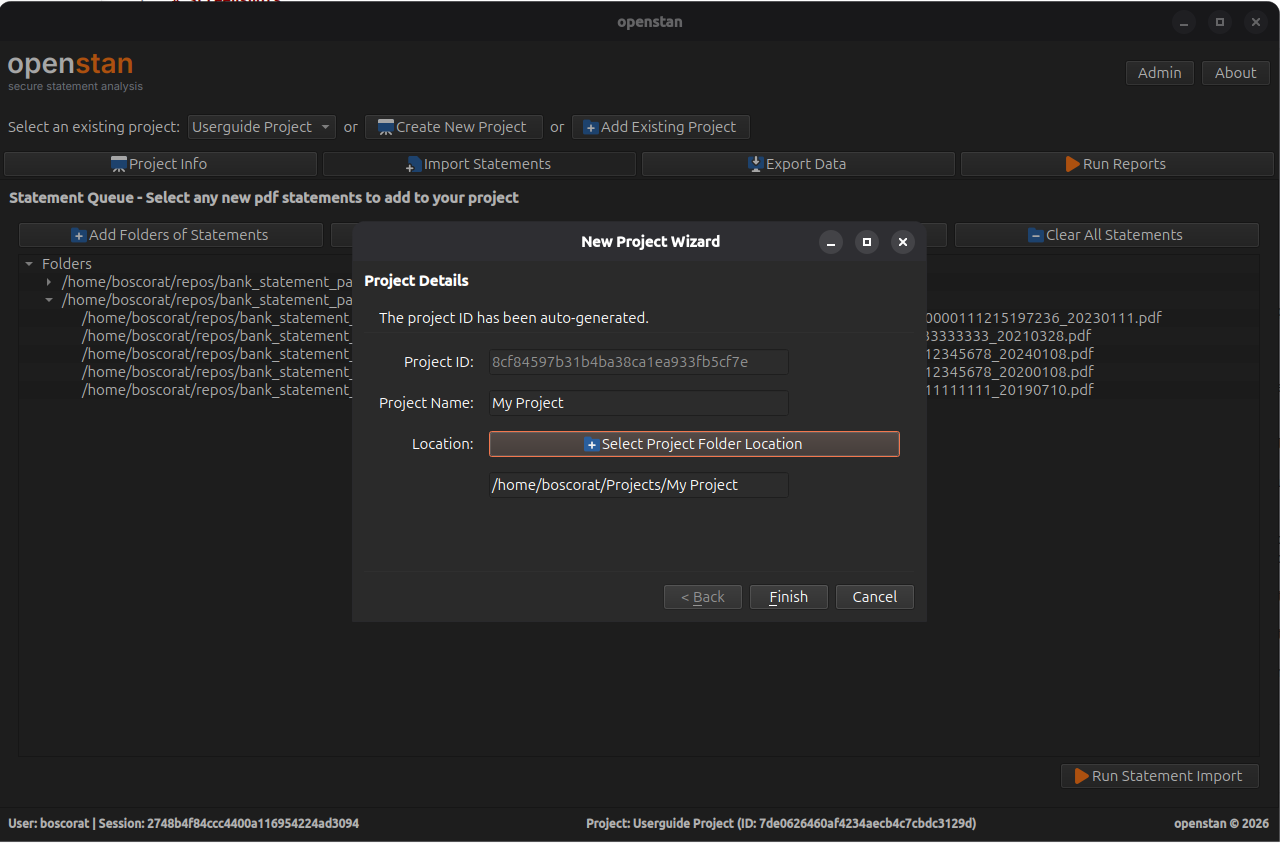
The new project appears in the Select an existing project drop-down and becomes the active project.
Adding an existing project
If you have already created a project on another machine or moved a project folder, use Add Existing Project instead. Navigate to the existing project folder and openstan will register it in the UI without changing any files.
Step 3 — Add statements to the import queue
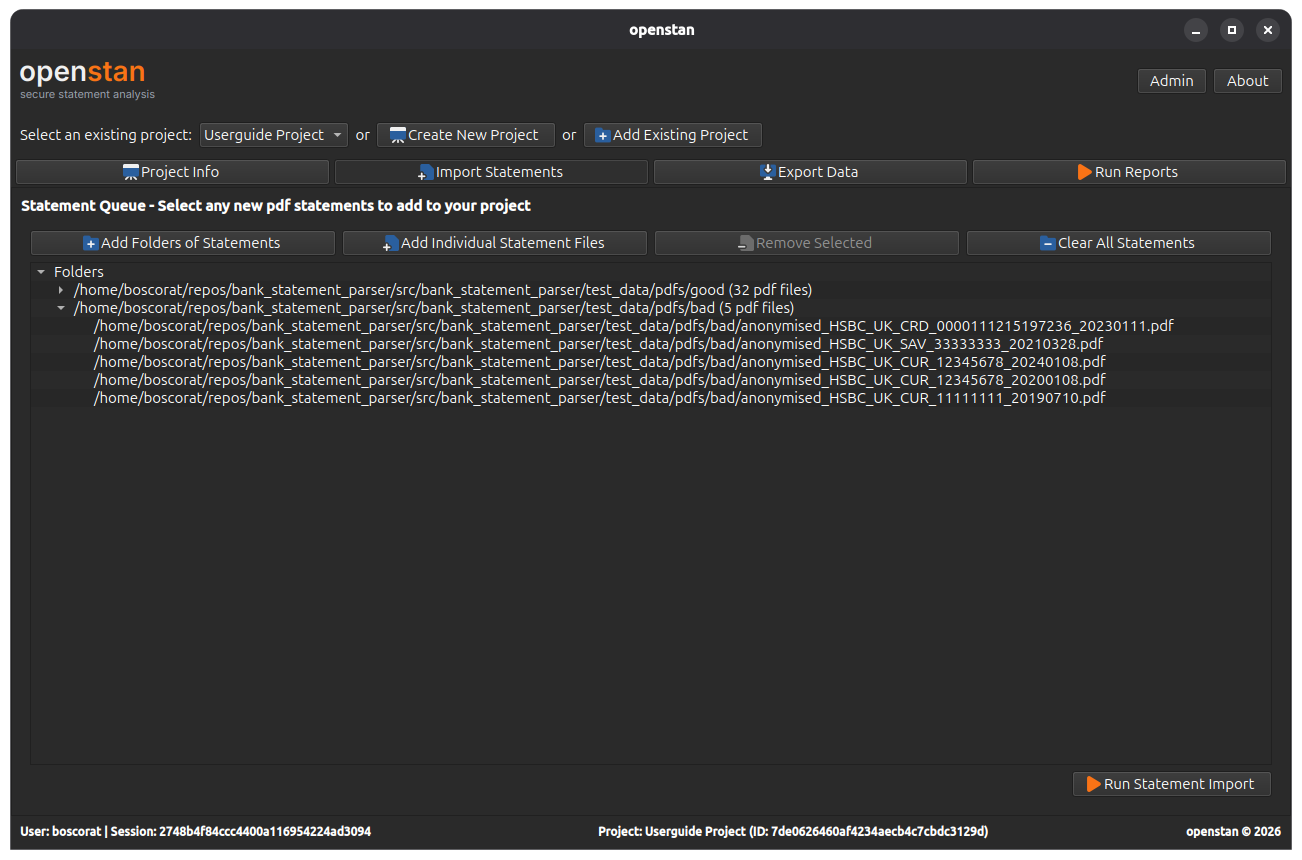
- Click Import Statements in the navigation bar (or press
Alt+I). - Use Add Folders of Statements to add a whole directory of PDFs at once, or Add Individual Statement Files to pick specific files. Files are shown in a tree grouped by folder.
- Review the queue. Use Remove Selected or Clear All Statements to adjust the list.

Step 4 — Run the import
Click Run Statement Import. openstan sends each PDF to the parser in the background. A progress bar shows the overall status.
When processing is complete, the results panel opens automatically.
Step 5 — Review results
The results panel shows three tabs:
| Tab | Meaning |
|---|---|
| SUCCESS | Statements parsed cleanly — these can be committed. |
| REVIEW | Statements parsed but the checks-and-balances totals do not match. |
| FAILURE | Statements that could not be parsed at all. |


For REVIEW and FAILURE rows, click View Debug Info to open a dialog with per-file debug output and the original PDF side by side.
Unsupported banks
If all your statements appear in the FAILURE tab, your bank may not yet have a parser configuration. See the bank_statement_parser guide on adding a new bank for instructions on creating a TOML config file.
Step 6 — Commit the batch
When you are satisfied with the results, click Commit Batch. Only SUCCESS-status statements are written to the project database. REVIEW and FAILURE statements remain unimported.
Once committed, the queue unlocks and the Project Info, Export Data, and Run Reports navigation items become visible.
Step 7 — Explore your data
- Project Info (
Alt+P) — summary statistics, per-account breakdowns, and any coverage gaps detected between consecutive statements. - Export Data (
Alt+E) — export transactions to Excel, CSV, or JSON. - Run Reports (
Alt+R) — build custom reports with filters, grouping, and aggregations, and export or preview them live.
Next steps
- Read the Import Statements screen guide for full details on the queue and import options.
- Read the Export Data and Advanced Export guides to learn about export specs.
- Read the Run Reports guide to get the most out of the report builder.